A metal roof is a great way to improve the durability, energy efficiency, and curb appeal of your home. If you are considering installing a metal roof over your existing shingles, there are a few things you need to know. In this article, we will provide a step-by-step guide on how to do it.
Materials and Tools
Before you start, you will need to gather the following materials and tools:
- Metal roof panels
- The type of metal roof panel you choose will depend on your budget, climate, and aesthetic preferences.
- Common types of metal roof panels include galvanized steel, aluminum, and copper.
- Flashing
- Flashing is used to seal any areas where the metal roof meets another surface, such as the chimney or a wall.
- There are a variety of different types of flashing available, so be sure to choose the right type for your application.
- Ridge caps
- Ridge caps are used to cover the ridge of the roof. They help to keep water out and provide a finished look.
- Gutters and downspouts
- Gutters and downspouts are essential for collecting rainwater and directing it away from your home.
- Safety gear, such as a hard hat, safety glasses, and gloves
- Power tools, such as a hammer, saw, and drill
- Hand tools, such as a tape measure, level, and chalk line
Step 1: Remove the Existing Shingles
The first step is to remove the existing shingles from your roof. You can do this by using a hammer and pry bar. Be careful not to damage the underlying roof deck.
Tip: If your roof is covered in asphalt shingles, you can rent a roof rake to make the removal process easier.
Step 2: Inspect the Roof Deck
Once you have removed the shingles, inspect the roof deck for any damage. If there is any damage, you will need to repair it before installing the metal roof.
Tip: Common roof deck damages include rot, mold, and damage from nails or screws.
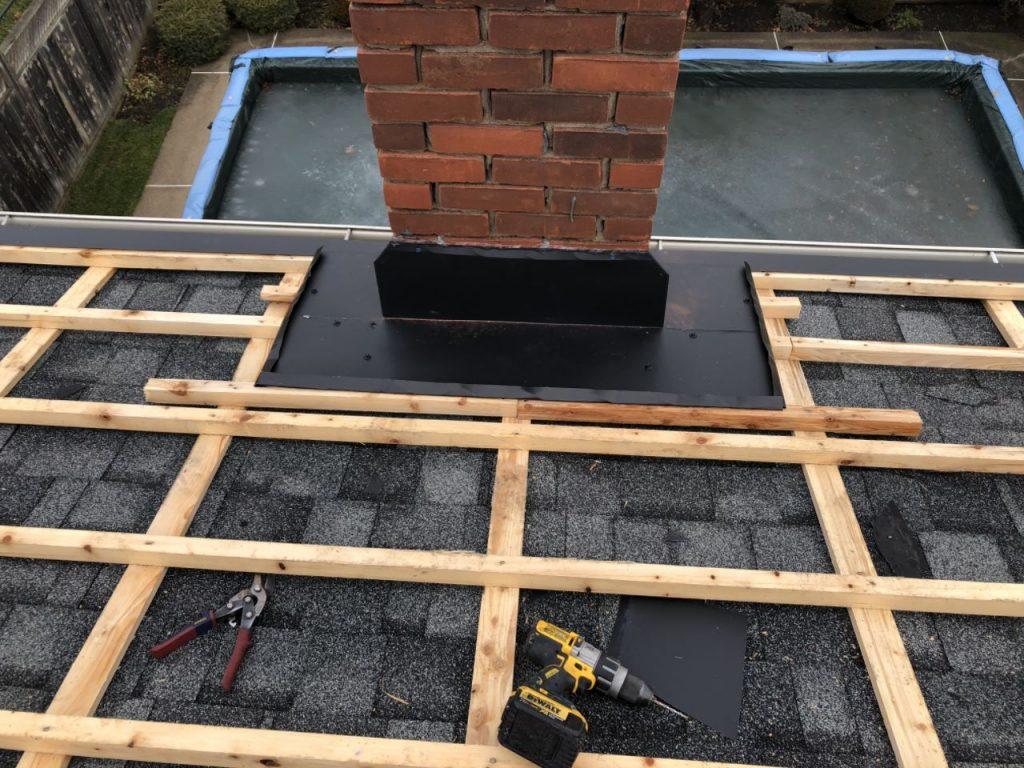
Step 3: Install the Flashing
Flashing is used to seal any areas where the metal roof meets another surface, such as the chimney or a wall. There are a variety of different types of flashing available, so be sure to choose the right type for your application.
Tip: When installing flashing, be sure to use the right type of sealant to ensure a watertight seal.
Step 4: Install the Ridge Caps
Ridge caps are used to cover the ridge of the roof. They help to keep water out and provide a finished look.
Tip: Ridge caps are typically installed with screws or nails.
Step 5: Install the Metal Roof Panels
Start by installing the panels at the eaves of the roof. Then, work your way up the roof, overlapping the panels by at least 6 inches.
Tip: When installing metal roof panels, be sure to use the right type of screws or nails to ensure a secure installation.
Step 6: Secure the Metal Roof Panels
Once the panels are in place, you will need to secure them to the roof deck. You can do this by using screws or nails.
Tip: When securing metal roof panels, be sure to use the right type of sealant to prevent leaks.
Step 7: Install the Gutters and Downspouts
Gutters and downspouts are essential for collecting rainwater and directing it away from your home.
Tip: When installing gutters and downspouts, be sure to use the right type of sealant to prevent leaks.
Step 8: Clean Up
Once the metal roof is installed, be sure to clean up any debris from the roof.
Additional Tips
- If you are not comfortable installing a metal roof yourself, you can hire a professional to do it for you.
- Be sure to follow the manufacturer’s instructions when installing the metal roof.
- Use high-quality materials and tools to ensure a long-lasting roof.


Leave a Reply