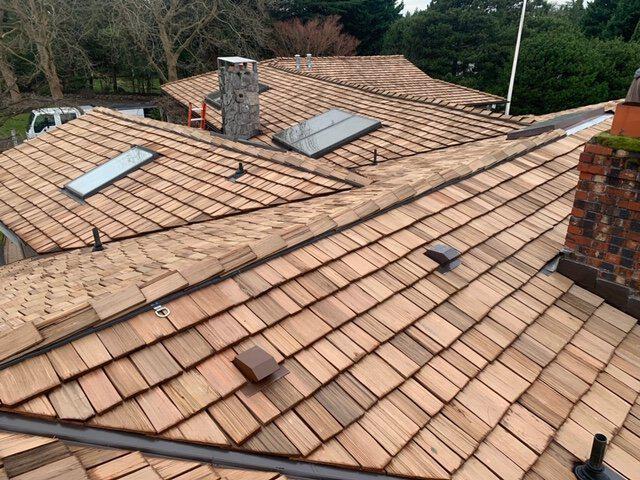
Cedar shake roofs are renowned for their natural beauty and durability. However, over time, they may require repairs due to various factors such as weathering, age, and improper maintenance. In this article, we will provide a comprehensive step-by-step guide on how to repair a cedar shake roof, ensuring its longevity and preserving its aesthetic appeal.

Assessing the Damage
Before proceeding with the repair process, it is essential to assess the extent of the damage to your cedar shake roof.
When it comes to repairing a cedar shake roof, the first step is to thoroughly inspect the roof for any signs of damage. This can include cracked or split shakes, missing shakes, loose nails, and areas of rot or decay. Identifying the specific issues will help determine the scope of the repair work needed.
Gather the Necessary Tools and Materials
To effectively repair your cedar shake roof, gather the essential tools and materials required for the job.
Before embarking on the repair process, ensure that you have the necessary tools readily available. These may include a hammer, pry bar, utility knife, roofing nails, roofing cement, replacement shakes, and a ladder or scaffolding for safe access to the roof. It is crucial to use high-quality materials to ensure the longevity and effectiveness of the repairs.
Repairing Cracked or Split Shakes
Cracked or split shakes are a common issue with cedar shake roofs. Here’s how you can repair them.
To repair cracked or split shakes, start by carefully removing the damaged shake using a pry bar or utility knife. Take care not to cause any further damage to the surrounding shakes. Once the damaged shake is removed, prepare a replacement shake of the same size and shape. Apply a layer of roofing cement to the backside of the replacement shake, then carefully slide it into place and secure it with roofing nails. Ensure the new shake is properly aligned with the surrounding shakes for a seamless look.
Replacing Missing Shakes
When dealing with missing shakes, replacement is necessary to restore the integrity of the cedar shake roof.
Begin by identifying the area where the shake is missing. Remove any debris or loose nails from the area and clean it thoroughly. Cut a new shake to fit the size and shape of the gap. Apply roofing cement to the backside of the replacement shake, then carefully position it in place. Secure the new shake with roofing nails, ensuring it is firmly attached to the roof.
Addressing Rot or Decay
Rot or decay in cedar shake roofs should be addressed promptly to prevent further damage.
If you notice areas of rot or decay in your cedar shake roof, it is crucial to address them promptly. Start by removing the affected shakes, ensuring you remove all decayed wood. Inspect the underlying structure to determine if any repairs or reinforcements are necessary. Once the repairs are complete, replace the damaged shakes following the aforementioned steps.
Conclusion:
Repairing a cedar shake roof can be a rewarding and worthwhile endeavor. By carefully assessing the damage, gathering the necessary tools and materials, and following the step-by-step guide, you can effectively restore the beauty and functionality of your cedar shake roof. Regular maintenance and timely repairs will ensure its longevity and protect your home for years to come.


Leave a Reply