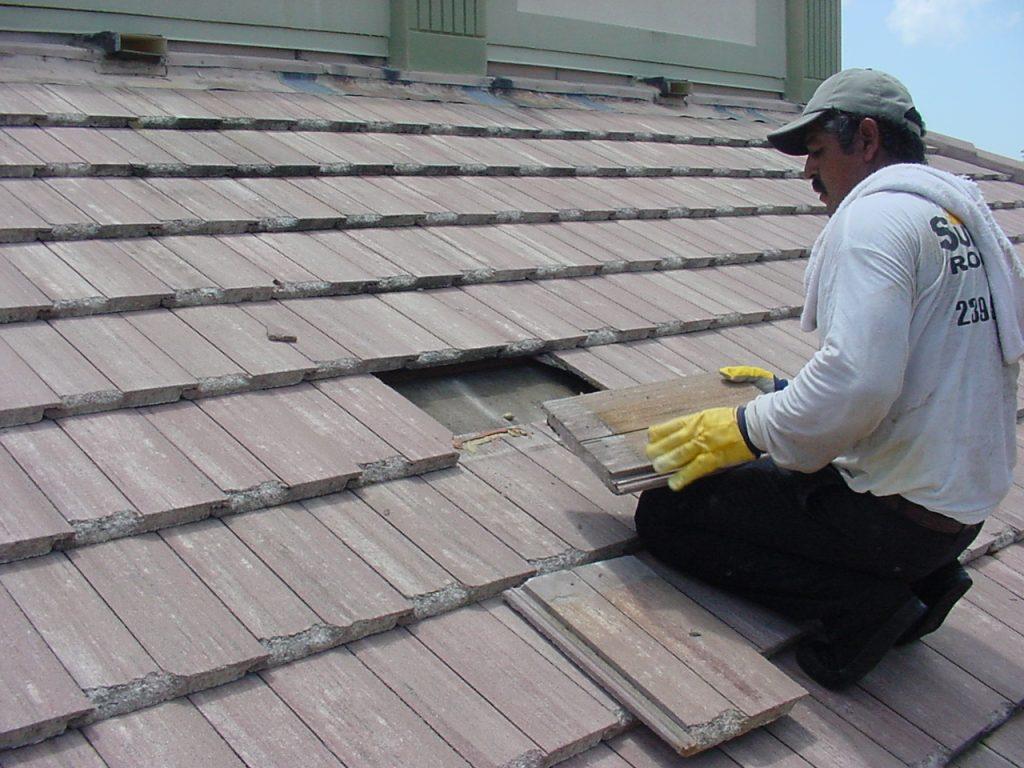
Concrete roof tiles are a durable and popular roofing material known for their longevity and resilience. However, over time, weathering and other factors can cause individual tiles to become damaged or worn out. When that happens, it’s essential to know how to replace concrete roof tiles to maintain the integrity of your roof. In this guide, we’ll take you through the step-by-step process of replacing concrete roof tiles, ensuring your home remains protected and attractive.

Understanding the Importance of Replacing Concrete Roof Tiles:
Concrete roof tiles are designed to withstand various weather conditions, but they can still become damaged over the years. Damage to roof tiles can lead to water leaks, which can cause significant structural damage and even mold growth. Replacing damaged tiles promptly is essential for preventing these issues and extending the life of your roof.
Materials and Tools You Will Need:
Before you begin, gather the necessary materials and tools for the task:
- Replacement Tiles: Ensure you have concrete tiles that match the style, color, and size of your existing tiles.
- Safety Gear: Safety goggles, gloves, and a sturdy ladder to access the roof safely.
- Roofing Nails: For securing the replacement tiles in place.
- Tile Adhesive: A strong adhesive to affix the new tile to the roof.
- Tile Clips or Hooks: To secure the tile in place.
- Hammer and Pry Bar: For removing damaged tiles.
- Measuring Tape: For precise measurements and alignment.
Step-by-Step Guide to Replacing Concrete Roof Tiles:
- Safety Precautions: Safety is paramount when working on your roof. Wear the necessary protective gear, ensure your ladder is stable, and work on a dry, sunny day.
- Assess the Damage: Identify the damaged tiles by closely inspecting your roof. Look for cracked, chipped, or missing tiles.
- Prepare the Area: Clear the area around the damaged tile. Gently remove any debris, dirt, or moss that might interfere with the replacement process.
- Removing the Damaged Tile: Use the pry bar and hammer to carefully lift the damaged tile and remove it from its position. Be cautious not to damage the neighboring tiles.
- Prepare the New Tile: Apply a layer of tile adhesive to the back of the new tile. Place tile clips or hooks on the bottom edge for extra stability.
- Positioning the Replacement Tile: Carefully place the new tile into the empty slot, ensuring it aligns with the surrounding tiles. Press it firmly into place.
- Securing the Tile: Use roofing nails to secure the new tile in place. Be sure to drive the nails through the upper edge of the tile, as this will be hidden beneath the overlapping tile.
- Finishing Touches: Once the replacement tile is secure, inspect the area for any additional damage or loose tiles. Make any necessary repairs to ensure your roof remains in good condition.
Benefits of Replacing Concrete Roof Tiles:
Replacing damaged concrete roof tiles offers several advantages:
- Leak Prevention: Replacing damaged tiles promptly prevents water from seeping through your roof.
- Enhanced Aesthetics: New tiles can refresh the look of your roof, improving your home’s curb appeal.
- Prolonged Roof Lifespan: Regular maintenance and tile replacement can extend the life of your roof.
- Cost Savings: Preventing water damage by replacing damaged tiles can save you from costly repairs in the long run.
Conclusion:
Learning how to replace concrete roof tiles is a valuable skill for any homeowner. By promptly addressing damaged or worn-out tiles, you can prevent water leaks, protect your home’s structure, and maintain your roof’s integrity. This straightforward DIY task can help you avoid costly roof repairs down the road and keep your home looking its best.
Remember, safety should always be a priority when working on your roof. If you’re uncomfortable with the process or unsure about any steps, don’t hesitate to contact a professional roofing contractor who can ensure the job is done correctly and efficiently.


Leave a Reply