Introduction
Working on house siding above an angled roofing can feel intimidating, especially if you’re worried about safety or achieving a clean finish. Many homeowners struggle to understand how to work on house siding above an angled roofing without damaging the roof or compromising the siding. With proper techniques and planning, you can complete this task safely while maintaining a professional look.
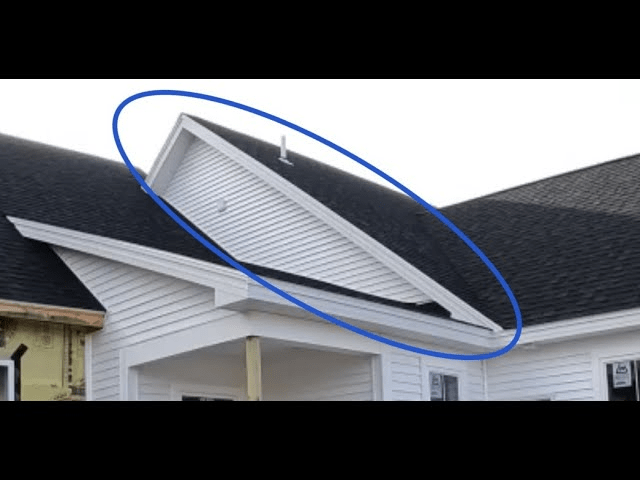
Why Working Above Angled Roofing Is Challenging
Angled roofs present unique obstacles:
- Limited access: Steep angles make it hard to reach the upper sections.
- Waterproofing risks: Incorrect installation may cause leaks.
- Safety concerns: Sloped surfaces increase fall risk.
According to a study by the National Roofing Contractors Association, falls from roofs account for 34% of all home construction injuries, making proper precautions essential.
Read too: How Long Do Standing Seam Metal Roofs Last? A Comprehensive Guide to Durability and Longevity
Tools and Materials Needed
Before you begin, gather these essential tools:
- Extension ladders and scaffolding with anti-slip feet
- Safety harness and ropes rated for 5,000 lbs
- Chalk line for straight siding alignment
- Hammer, nails, or pneumatic nailer
- Measuring tape, utility knife, and siding trim pieces
- Flashing materials and waterproof sealant
Pro Tip: Use lightweight aluminum scaffolding for angled areas, as it provides stability without damaging the roof shingles.
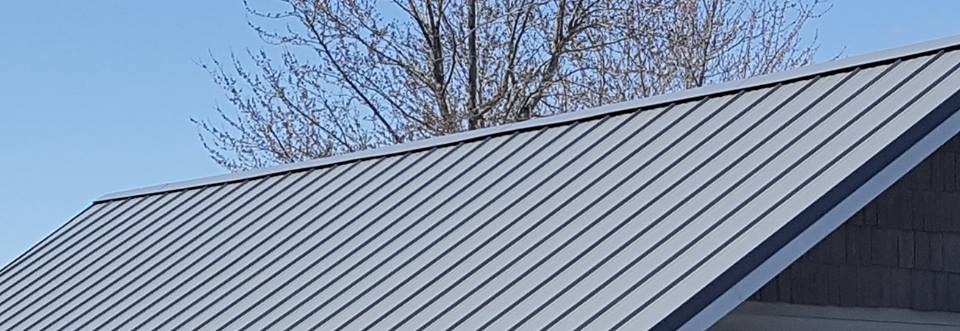
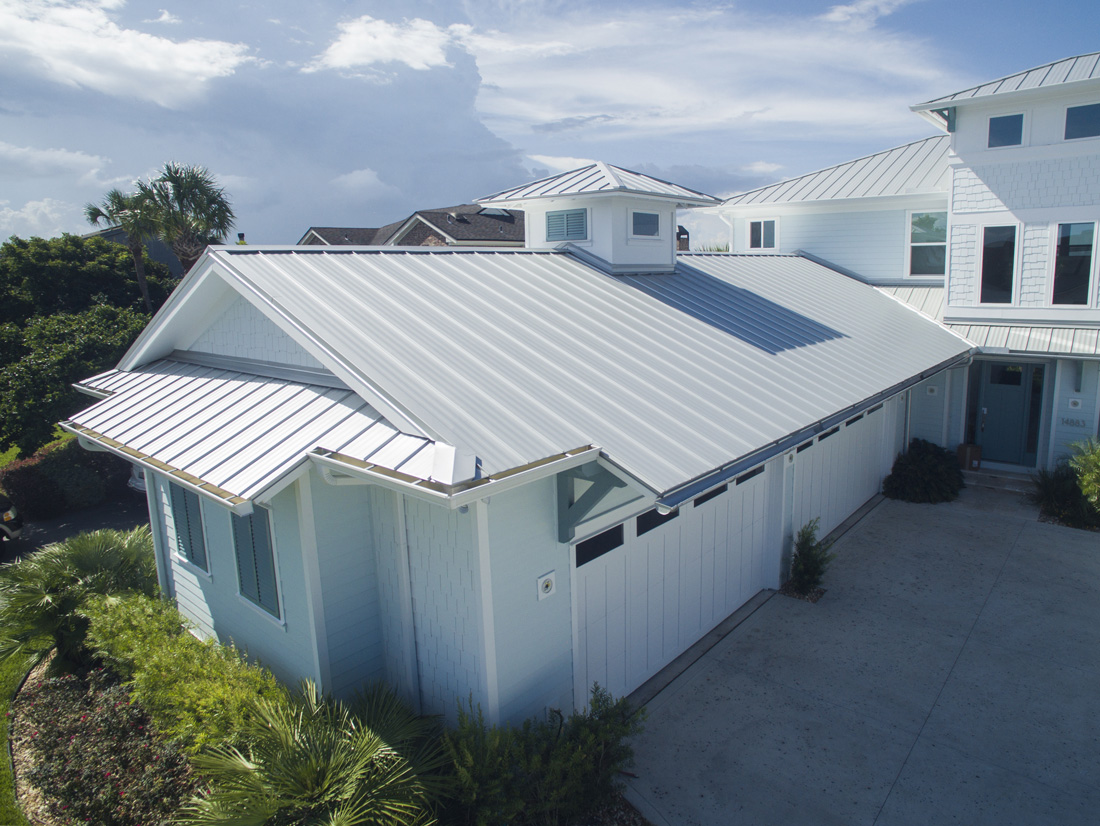
Step-by-Step Guide: Installing Siding Above Angled Roofing
- Assess the Roof Angle:
Determine the roof pitch. For angles steeper than 6/12, additional safety gear is mandatory. - Set Up Safety Measures:
Attach harness anchors to stable roof structures. Ensure ladders are placed on level ground. - Install Drip Edge and Flashing:
Place flashing along the roofline to prevent water from seeping behind siding. Overlap edges by at least 2 inches. - Measure and Cut Siding Panels:
Cut panels slightly longer than the wall height. Make precise angles to match roof slopes. - Attach Siding Panels:
Begin from the bottom corner and work upward. Ensure panels overlap by 1 inch to maintain a waterproof barrier. - Seal Edges and Corners:
Apply exterior-grade caulking at corners, seams, and roof intersections. - Inspect Your Work:
Verify panels are flush and properly aligned. Check for any gaps or loose fasteners.
For more on roof flashing and home exterior materials, visit Wikipedia.org.
Safety Tips While Working On Angled Roofs
- Always wear non-slip shoes and protective gloves.
- Avoid working in rainy or windy conditions.
- Limit time on steep slopes; take breaks to avoid fatigue.
- Use scaffolding whenever possible instead of standing directly on the roof.
Common Mistakes to Avoid
| Mistake | Consequence | Solution |
|---|---|---|
| Cutting siding too short | Water infiltration | Measure twice, cut once |
| Skipping flashing | Roof leaks | Always install drip edge and flashing |
| Working without harness | Fall hazard | Use full safety gear |
| Misaligned panels | Poor aesthetics | Use chalk line for alignment |
FAQ
Q1: Can I install siding alone above an angled roof?
A: It’s possible, but working with a partner is safer for handling panels and scaffolding.
Q2: How do I prevent water from getting behind the siding?
A: Proper flashing, caulking, and overlapping panels ensure water is directed away from the wall.
Q3: What type of siding works best above angled roofing?
A: Vinyl or fiber cement siding is ideal due to durability, flexibility, and water resistance.
Q4: Can I reuse old siding panels?
A: Reusing is possible if panels are undamaged, but new panels ensure a perfect fit and waterproofing.
Q5: How long does the installation usually take?
A: For an average wall section (20×10 ft), installation typically takes 4–6 hours with two people.
Q6: Is it necessary to paint siding after installation?
A: Only if you choose paintable siding types. Vinyl siding usually comes prefinished and requires no painting.
Conclusion
Working on house siding above an angled roofing may seem daunting, but with proper tools, safety measures, and step-by-step guidance, you can achieve a professional, durable finish. Protect your home from leaks, improve aesthetics, and enhance curb appeal.
Share this guide on Facebook, Twitter, or Pinterest to help others tackle their home siding projects safely and efficiently!

Leave a Reply