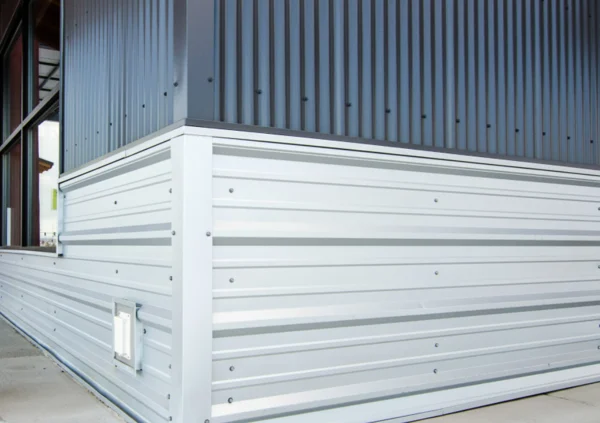
Corrugated metal roofing has become increasingly popular due to its durability, affordability, and modern aesthetic appeal. When it comes to installation, you have the option to install the panels vertically or horizontally. In this article, we’ll focus on the horizontal installation method, providing you with a step-by-step guide to help you achieve a professionally finished roof.

Preparing for Installation
Before you begin installing corrugated metal roofing horizontally, you’ll need to gather the necessary tools and materials:
- Corrugated Metal Roofing Panels: Purchase high-quality corrugated metal panels in your desired color and gauge. The gauge refers to the thickness of the metal, with lower numbers indicating thicker material.
- Fasteners: Opt for appropriate screws or nails designed for metal roofing. These should have rubber gaskets to prevent leaks.
- Roofing Underlayment: Install roofing underlayment, such as synthetic or felt paper, to provide an additional layer of protection against moisture and improve insulation.
- Safety Gear: Ensure you have safety gear, including gloves, safety glasses, and a harness if necessary. Roofing can be dangerous, so prioritize safety at all times.
Step 1: Prepare the Roof
Begin by preparing the roof surface. Remove any existing roofing materials, such as shingles or old metal panels. Ensure the roof deck is clean, dry, and free from debris.
Step 2: Install Roofing Underlayment
Lay down the roofing underlayment horizontally across the roof deck. Secure it with staples or fasteners, making sure it’s taut and free from wrinkles. This underlayment acts as a moisture barrier and provides additional insulation.
Step 3: Measure and Cut Panels
Measure the length of the roof from eave to ridge. Corrugated metal panels typically come in standard sizes, so you may need to cut them to fit your roof dimensions. Use a circular saw or metal shear to make precise cuts.
Step 4: Begin Installation
Start at one corner of the roof and place the first panel horizontally. Ensure it overhangs the roof’s edge slightly to allow for proper water drainage. Use the appropriate fasteners to secure the panel to the roof deck, placing them in the corrugated ridges.
Step 5: Overlap Panels
For the second panel, overlap it with the first one by one corrugation. This overlap ensures a watertight seal and adds strength to the roof. Secure the second panel with fasteners.
Step 6: Continue Installing
Continue this process, adding one panel at a time, until you reach the opposite end of the roof. Trim the last panel to fit if necessary. Make sure to maintain the corrugation overlap and secure each panel firmly.
Step 7: Install Ridge Cap
To finish the horizontal installation, install a ridge cap along the roof’s peak. The ridge cap provides a finished look and seals the roof’s top. Secure it with screws or nails.
Conclusion
Installing corrugated metal roofing horizontally is a practical and visually appealing choice for your roofing project. By following this step-by-step guide and prioritizing safety, you can achieve a durable and attractive roof that will protect your home for years to come. Remember to consult the manufacturer’s instructions for specific details related to your chosen corrugated metal panels.


Leave a Reply