When it comes to installing a standing seam metal roof, one important aspect to consider is the slope transition. Slope transition refers to the area where the roof changes from one pitch to another, such as a transition from a steep roof slope to a more shallow slope or vice versa. Proper planning and execution of the slope transition are crucial to ensure a seamless and watertight roofing installation. In this article, we will delve into the topic of standing seam metal roof slope transition, discussing its importance and best practices for a successful transition.
Understanding the Importance of Slope Transition:
Subheading: Maintaining Water Shedding Capability
The slope transition plays a critical role in maintaining the water shedding capability of a standing seam metal roof. Proper slope transition ensures that water is directed away from the roof surface, preventing water accumulation and potential leaks. A smooth transition allows for efficient water runoff, reducing the risk of water infiltration at the transition area. Neglecting the slope transition can lead to ponding water, premature roof deterioration, and compromised structural integrity.
Best Practices for Slope Transition: Ensuring a Seamless Transition
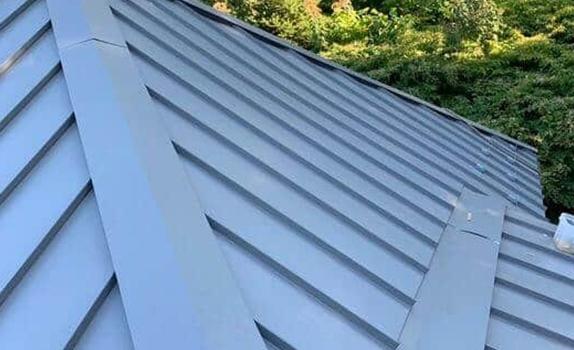
To ensure a seamless and effective, the following best practices should be followed:
- Proper planning and design: Thoroughly evaluate the roof design and identify areas where slope transitions are required. Consider factors such as roof pitch, roof geometry, and adjacent roof sections to determine the most suitable transition techniques.
- Slope transition methods: There are several methods for achieving a smooth slope transition, including crimping, step flashing, and interlocking panels. Consult with the manufacturer’s guidelines and industry best practices to select the appropriate method for your specific roof design.
- Flashing and sealant: Properly installed flashing and sealant are essential to ensure a watertight transition. High-quality flashing materials, such as metal or synthetic materials, should be used to provide durability and longevity. Sealants specifically designed for metal roofing should be applied to create a secure bond and prevent water penetration.
- Quality installation: Slope transitions require skilled craftsmanship to ensure a precise and seamless installation. It is crucial to work with experienced roofing professionals who are knowledgeable about standing seam metal roof installations and have a track record of successful slope transitions.
Common Slope Transition Challenges: Overcoming Potential Issues
During the installation, there are a few common challenges that may arise. These challenges include maintaining proper panel alignment, accommodating different pitch angles, and achieving a smooth transition without compromising the integrity of the roofing system. Proper planning, meticulous measurements, and attention to detail are key to overcoming these challenges and achieving a seamless slope transition.
Conclusion:
In conclusion, slope transition is a crucial aspect of a standing seam metal roof installation. A well-executed slope transition ensures proper water shedding and prevents water infiltration at the transition areas. By following best practices, such as proper planning, selecting suitable slope transition methods, using quality flashing and sealant, and relying on skilled installation professionals, homeowners and contractors can achieve a seamless and watertight standing seam metal roof . A carefully executed slope transition contributes to the overall performance, longevity, and aesthetic appeal of the metal roofing system.


Leave a Reply