When it comes to durable and stylish roofing options, 5V metal roofing stands out as a popular choice. If you’re considering installing a 5V metal roof, it’s important to understand the installation process to ensure a successful and long-lasting result. In this article, we will provide a comprehensive step-by-step guide to help you with the 5V metal roofing installation.
Understanding 5V Metal Roofing
5V metal roofing is a type of metal roofing system that features a distinct V-shaped profile. It is commonly made from galvanized steel or aluminum, providing excellent durability and resistance to various weather conditions. The sleek and timeless design of 5V metal roofing makes it a preferred option for both residential and commercial buildings.
Preparing for 5V Metal Roofing
Installation Before you begin the installation process, there are several important preparatory steps to take:
- Measure and Order Materials: Accurately measure the roof area to determine the quantity of 5V metal panels, trim pieces, and fasteners needed. Order the materials from a reliable supplier.
- Safety Precautions: Ensure you have the necessary safety equipment, such as gloves, goggles, and a harness if working at heights. Follow safety guidelines throughout the installation process.
- Roof Preparation: Clear the roof surface of any existing roofing materials, debris, or protrusions. Repair or replace any damaged roof sheathing or structural components as needed.
Step-by-Step Installation Process for 5V Metal Roofing
Here is a step-by-step guide for installing 5V metal roofing:
Step 1: Install the Underlayment Begin by installing a high-quality underlayment over the roof sheathing. This provides an additional layer of protection against moisture and helps improve energy efficiency.
Step 2: Install the Eave Trim Attach the eave trim along the lower edge of the roof, ensuring it is properly aligned and securely fastened. This helps prevent water from seeping under the roofing panels.
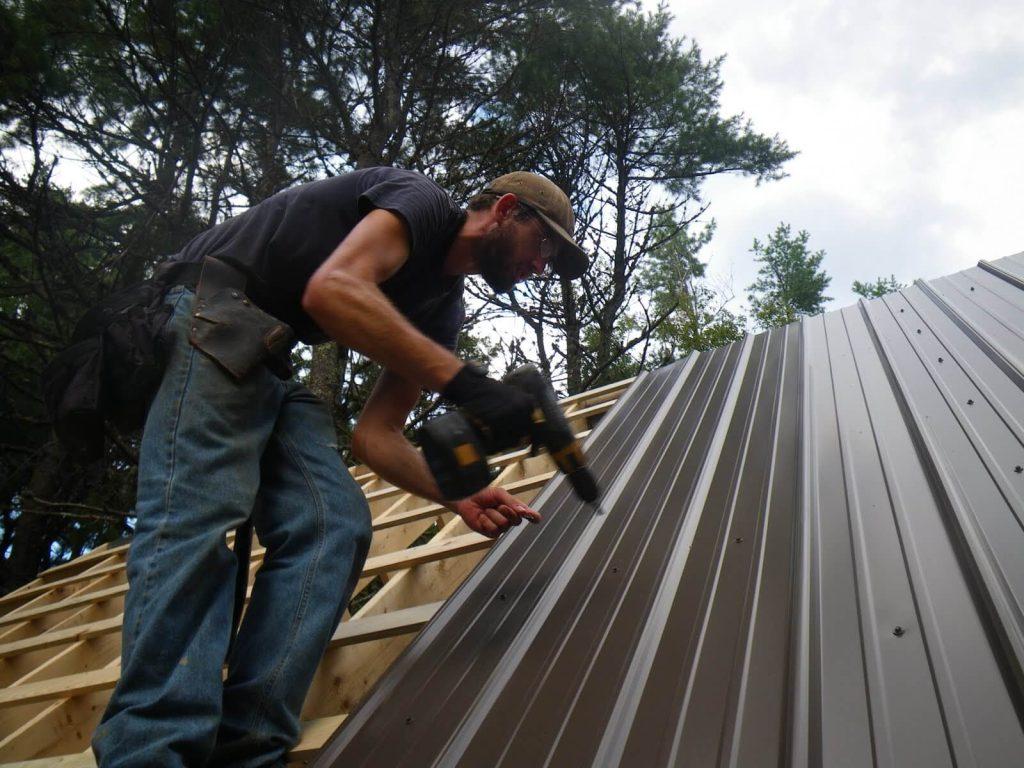
Step 3: Install the First Panel Start from one corner of the roof and secure the first metal panel using appropriate fasteners. Ensure the panel is level and aligns with the eave trim. Repeat this process for the subsequent panels, overlapping each panel slightly to ensure proper water drainage.
Step 4: Trim and Flashing Installation Cut the metal panels to size as needed, using specialized metal cutting tools. Install trim pieces and flashings around roof edges, valleys, and other areas that require sealing and waterproofing.
Step 5: Ridge Cap Installation Finish the installation by installing ridge caps along the ridges of the roof. These caps provide a protective and visually appealing finish to the 5V metal roofing system.
Final Inspections and Maintenance
Once the 5V metal roofing installation is complete, conduct a thorough inspection to ensure proper alignment, fastening, and sealing. Regular maintenance, such as clearing debris and inspecting for any signs of damage or loose fasteners, will help prolong the lifespan of the roof.
Conclusion:
Installing a 5V metal roof can provide exceptional durability, style, and longevity to your building. By following the step-by-step guide outlined in this article, you can successfully complete the 5V metal roofing installation process. Remember to prioritize safety, accurate measurements, and proper alignment throughout the installation. A well-installed 5V metal roof will not only enhance the aesthetic appeal of your property but also offer reliable protection for years to come.


Leave a Reply