Installing a metal roof is an excellent investment in your home’s durability and energy efficiency. If you’ve chosen Pro-Snap metal roofing for your project, you’re on the right track. Pro-Snap is known for its quality and ease of installation. In this comprehensive guide, we’ll provide you with step-by-step instructions for a successful Pro-Snap metal roofing installation.
Preparing for Installation
Gathering Your Tools and Materials
Before you begin the installation process, ensure you have all the necessary tools and materials ready. Here’s what you’ll need:
1. Pro-Snap Metal Roofing Panels
Make sure you have enough Pro-Snap metal roofing panels to cover your roof adequately. Measure the roof’s dimensions and order panels accordingly.
2. Roofing Underlayment
Install a roofing underlayment as a moisture barrier beneath the metal panels. It helps protect your home from leaks.
3. Fasteners
Choose appropriate fasteners for your metal roofing. Pro-Snap typically uses screws designed for metal roofing applications.
4. Flashing
You’ll need flashing to seal roof penetrations such as vents, chimneys, and skylights.
5. Tools
Common tools required include a power drill, roofing snips, a chalk line, a tape measure, and safety gear like gloves and safety glasses.
Installation Steps
Follow These Key Steps
1. Prepare the Roof Deck
Ensure the roof deck is clean and free of debris. Repair any damaged sections and apply the roofing underlayment. Secure it with staples or roofing nails.
2. Install the Starter Strip
Begin by installing a starter strip along the eaves of the roof. This strip provides a secure base for the first row of Pro-Snap panels. Make sure it’s level and securely fastened.
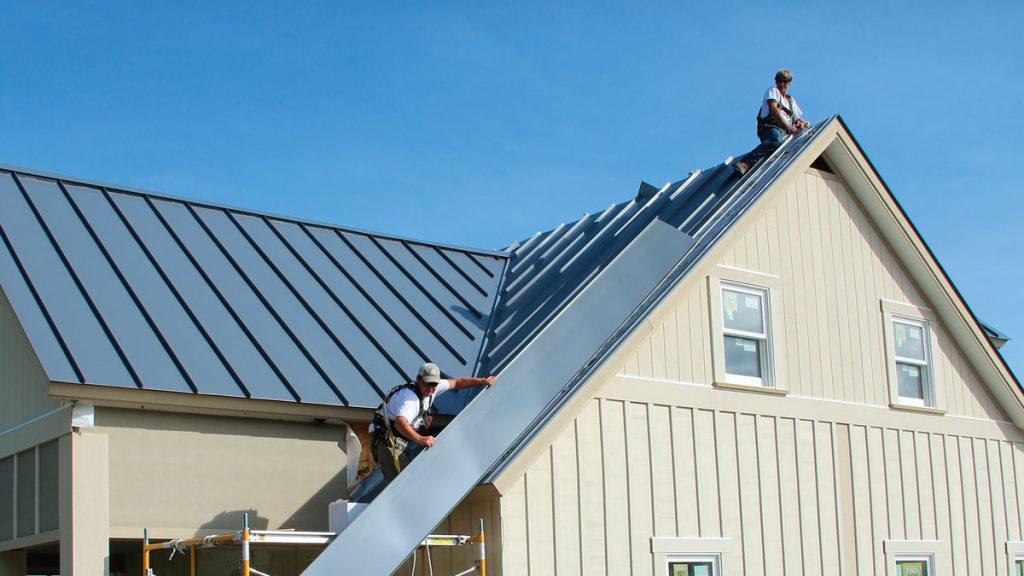
3. Attach the First Panel
Start at one end of the roof and place the first Pro-Snap panel on the starter strip. Ensure it overhangs the eave by the recommended amount (usually around 1 inch). Fasten the panel to the roof deck using the appropriate screws, typically positioned in the panel’s ribs.
4. Continue Installing Panels
Continue installing panels horizontally, ensuring each one overlaps the previous panel according to the manufacturer’s instructions. Use a chalk line to maintain a straight alignment.
5. Trim Panels as Needed
You may need to trim panels at the gable ends or around roof penetrations. Use roofing snips or a power saw designed for metal cutting.
6. Install Flashing
Wherever the roof meets a vertical surface, like a wall or chimney, install flashing to prevent water infiltration. Secure the flashing with screws and seal the edges with roofing sealant.
7. Ridge Cap Installation
Finish the installation by adding ridge caps along the roof’s ridges. These caps provide a clean, finished look and help prevent water penetration at the roof’s highest point.
8. Final Inspection
After completing the installation, conduct a thorough inspection to ensure all fasteners are secure, panels are correctly aligned, and flashing is properly sealed.
Conclusion
Pro-Snap metal roofing installation guide requires careful planning and attention to detail, but it’s a manageable DIY project for experienced homeowners. By following this step-by-step guide and consulting the manufacturer’s instructions, you can achieve a durable and attractive metal roof that enhances your home’s protection and energy efficiency. If you’re unsure about any aspect of the installation, it’s advisable to seek professional assistance to ensure a successful and long-lasting roofing solution.


Leave a Reply