Replace Drip Edge On Existing Roof. Replacing the drip edge on an existing roof is a crucial maintenance task that ensures your roof remains functional and extends its lifespan. The drip edge is a metal flashing installed at the edges of the roof to direct water away from the fascia and into the gutters, preventing water damage. If you’re noticing water damage, leaks, or rotting wood around the edges of your roof, it may be time to replace the drip edge. This comprehensive guide will walk you through the process of replacing the drip edge on an existing roof, ensuring a secure and effective installation.
Understanding the Drip Edge
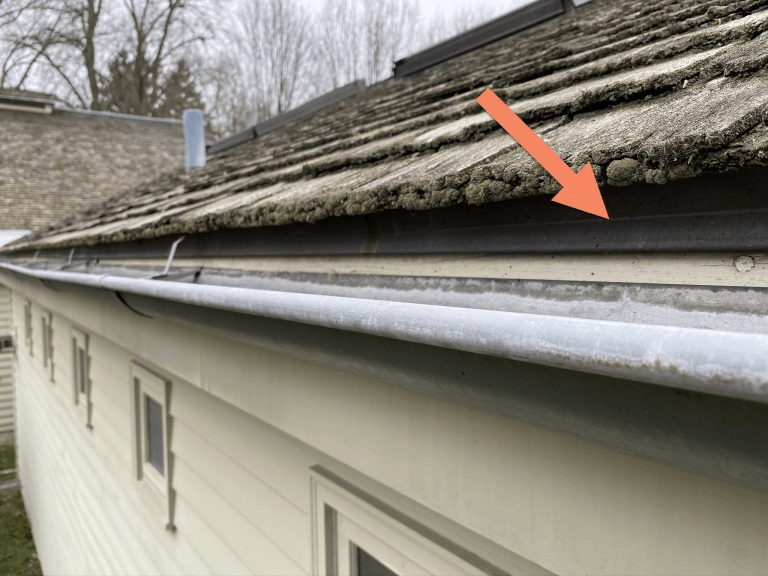
Before we dive into the replacement process, it’s essential to understand what a drip edge is and why it’s important. A drip edge is typically made of aluminum, galvanized steel, or copper and is installed at the roof’s eaves and rakes. It provides several benefits, including:
- Water Protection: Directs water away from the fascia and into the gutters.
- Roof Edge Support: Helps support the shingles at the edges and prevents sagging.
- Preventing Pest Infestations: Seals the gap between the roof deck and fascia, keeping pests out.
- Aesthetic Appeal: Provides a clean, finished look to the roof edges.
Read too: How To Replace Roof Shingles That Blew Off: A Comprehensive Guide
Tools and Materials You’ll Need
To replace the drip edge on your existing roof, you will need the following tools and materials:
- New drip edge material
- Roofing nails
- Hammer or nail gun
- Pry bar
- Utility knife
- Measuring tape
- Chalk line
- Ladder
- Safety gear (gloves, safety glasses, and harness)
How To Replace Drip Edge On Existing Roof: Step-by-Step Guide
1: Prepare the Area
- Safety First: Ensure you have the necessary safety gear and that your ladder is stable and secure.
- Clear the Work Area: Remove any debris or obstructions around the roof edge where you’ll be working.
2: Remove the Old Drip Edge
- Pry Off the Shingles: Using a pry bar, carefully lift the shingles along the edge of the roof to expose the old drip edge. Be gentle to avoid damaging the shingles.
- Remove Nails: Use the pry bar to remove the nails holding the old drip edge in place.
- Extract the Old Drip Edge: Carefully slide out the old drip edge from under the shingles and dispose of it properly.
3: Measure and Cut the New Drip Edge
- Measure the Roof Edge: Use a measuring tape to determine the length of the roof edge where the new drip edge will be installed.
- Cut the New Drip Edge: Use a utility knife or tin snips to cut the new drip edge to the appropriate length. Ensure you cut accurately to avoid gaps.
4: Install the New Drip Edge
- Position the Drip Edge: Slide the new drip edge under the shingles, ensuring it extends slightly over the roof’s edge and aligns with the fascia.
- Secure the Drip Edge: Using roofing nails, secure the drip edge to the roof deck. Space the nails approximately 12 inches apart along the drip edge.
- Check Alignment: Ensure the drip edge is straight and securely attached to prevent water infiltration.
5: Reattach the Shingles
- Position the Shingles: Carefully lay the shingles back over the newly installed drip edge.
- Secure the Shingles: Use roofing nails to reattach any shingles you had to remove or lift during the process. Ensure they are securely fastened to prevent them from blowing off in strong winds.
6: Inspect the Installation
- Check for Gaps: Inspect the newly installed drip edge to ensure there are no gaps between it and the roof or fascia.
- Test for Stability: Gently tug on the drip edge and shingles to ensure they are securely fastened and won’t come loose.
Maintenance Tips for Drip Edges
Maintaining your drip edge is essential for the longevity of your roof. Here are some tips to keep it in good condition:
- Regular Inspections: Inspect the drip edge at least twice a year for any signs of damage or wear.
- Clean Gutters: Ensure gutters are clean and free of debris to allow proper water flow away from the roof.
- Address Damage Promptly: If you notice any damage to the drip edge, repair or replace it immediately to prevent further issues.
- Professional Inspections: Consider hiring a professional roofer for an in-depth inspection every few years.
Benefits of Replacing Drip Edge
- Enhanced Water Protection: A new drip edge ensures that water is effectively directed away from the roof and fascia, reducing the risk of water damage.
- Improved Roof Longevity: Properly installed drip edges support the roof structure and prevent edge deterioration, extending the roof’s lifespan.
- Aesthetic Improvement: A new drip edge can enhance the overall appearance of your roof, giving it a clean and polished look.
Conclusion
Replacing the drip edge on an existing roof is a straightforward yet vital task that protects your home from water damage and extends the life of your roof. By following the steps outlined in this guide, you can confidently replace your drip edge and ensure your roof remains in excellent condition for years to come.


Leave a Reply