When it comes to maintaining the integrity of your home, the roof is one of the most critical components. A vital part of that is the flashing, which protects vulnerable areas from water infiltration. But how much does it cost to replace flashing on a roof? In this article, we’ll explore the costs, factors that affect pricing, and the importance of replacing roof flashing. By understanding these aspects, you’ll be better prepared to make informed decisions about your roof maintenance.
Understanding Roof Flashing
Roof flashing is a thin material, usually made of metal, that’s used to direct water away from critical areas of the roof, such as valleys, chimneys, skylights, and vents. Properly installed flashing prevents water from seeping into the roof structure and causing damage.
Why Replace Roof Flashing?
Flashing can deteriorate over time due to weather conditions, age, and poor installation. If flashing fails, it can lead to leaks and significant water damage to your home. Therefore, replacing damaged or old flashing is essential to maintaining your roof’s integrity.
Factors Affecting the Cost of Replacing Roof Flashing
1. Type of Flashing
The cost can vary depending on the type of flashing being replaced. Common types include:
- Step Flashing: Used along the edges of roofs that intersect walls.
- Vent Pipe Flashing: Installed around plumbing vent pipes.
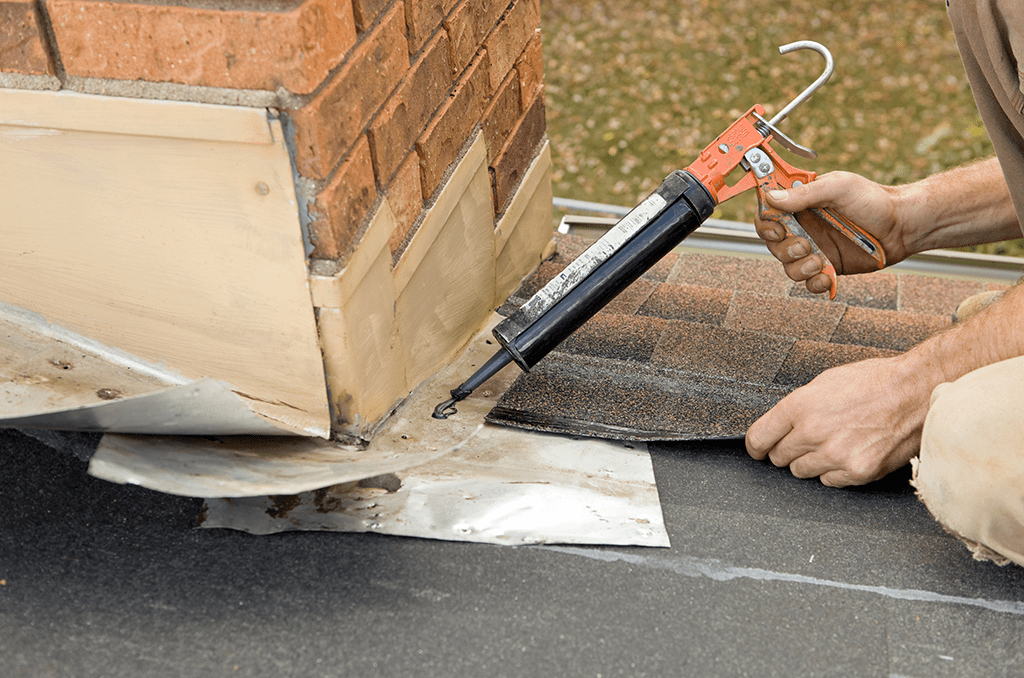
- Chimney Flashing: Used to seal the area where the chimney meets the roof.
- Valley Flashing: Placed in roof valleys to direct water.
Read too: Is It Reasonable to Ask the Seller to Replace the Roof?
2. Material
Flashing materials can range from affordable options like aluminum to more expensive choices like copper. The material you choose will significantly impact the overall cost.
- Aluminum: Cost-effective and easy to work with.
- Copper: Durable and long-lasting but more expensive.
- Steel: Strong and moderately priced.
- Lead: Highly durable but costly and less common due to environmental concerns.
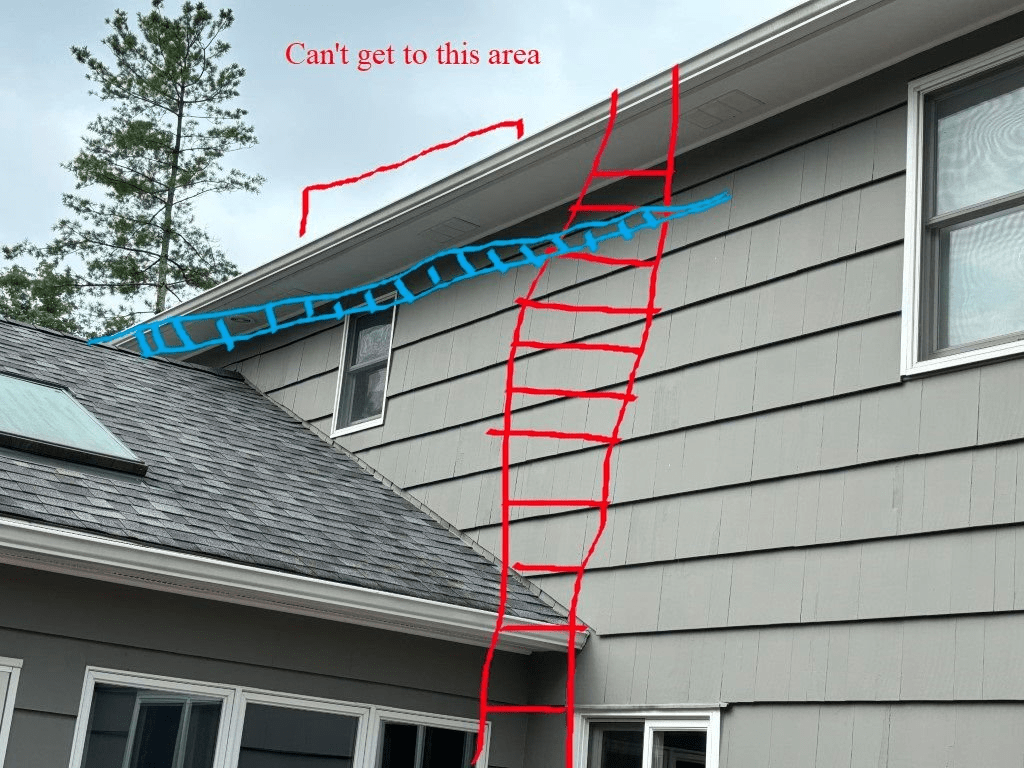
3. Roof Accessibility
The accessibility of your roof can affect labor costs. If your roof is steep or has multiple levels, it may require more time and effort to replace the flashing, increasing the labor cost.
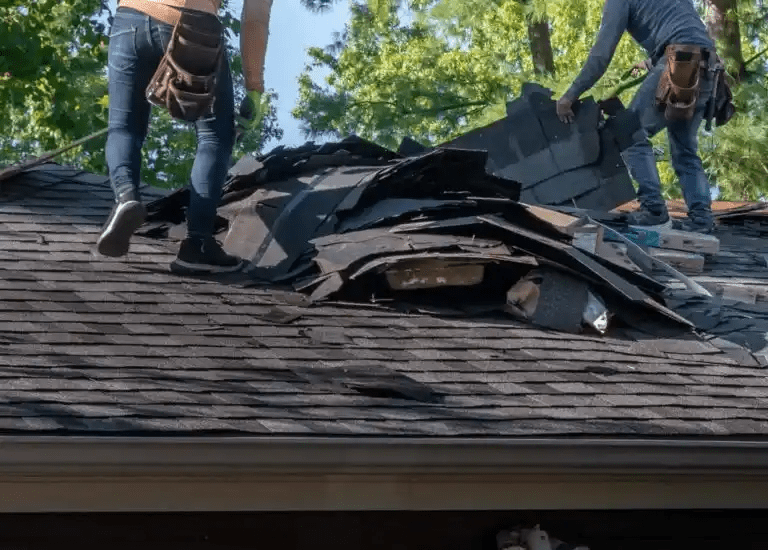
4. Extent of Damage
If the damage is extensive, it might require more material and labor to replace the flashing. In some cases, additional repairs to the roof structure may be necessary, adding to the cost.
5. Labor Costs
Labor costs vary depending on your location and the roofing contractor you hire. Experienced and reputable contractors may charge more but offer higher quality work.
How Much To Replace Flashing On Roof?
The cost to replace flashing on a roof can vary widely based on the factors mentioned above. Here’s a breakdown of potential costs:
1. Step Flashing
- Material Cost: $50-$200
- Labor Cost: $200-$500
- Total Cost: $250-$700
2. Vent Pipe Flashing
- Material Cost: $20-$50
- Labor Cost: $100-$300
- Total Cost: $120-$350
3. Chimney Flashing
- Material Cost: $150-$500
- Labor Cost: $300-$1,000
- Total Cost: $450-$1,500
4. Valley Flashing
- Material Cost: $50-$200
- Labor Cost: $200-$500
- Total Cost: $250-$700
DIY vs. Hiring a Professional
DIY Replacement
Replacing flashing yourself can save on labor costs, but it’s a challenging task that requires roofing knowledge and skills. Improper installation can lead to more significant problems down the line.
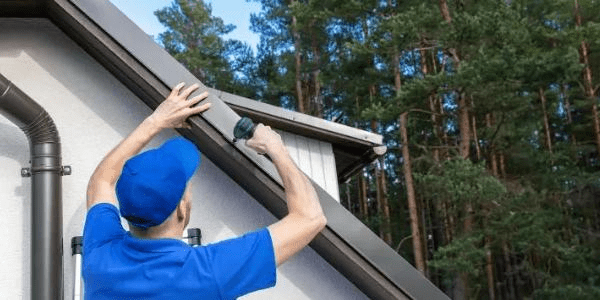
Hiring a Professional
Hiring a professional ensures the job is done correctly and safely. Professionals have the experience and tools necessary to replace flashing efficiently. Although it may be more expensive, it provides peace of mind and reduces the risk of future issues.
Steps to Replace Roof Flashing
If you decide to hire a professional, it’s still helpful to understand the basic steps involved in replacing roof flashing:
1. Inspection
The contractor will inspect the roof to assess the extent of the damage and determine the necessary repairs.
2. Removing Old Flashing
The old flashing is carefully removed without damaging the surrounding roofing materials.
3. Preparing the Area
The area is cleaned and prepped for the new flashing. Any damaged roofing materials are repaired or replaced.
4. Installing New Flashing
The new flashing is installed, ensuring it’s properly sealed and secured to prevent water infiltration.
5. Final Inspection
A final inspection is conducted to ensure the flashing is installed correctly and the roof is in good condition.
Importance of Regular Roof Maintenance
Regular maintenance can extend the lifespan of your roof and flashing. Here are some tips to keep your roof in top shape:
1. Regular Inspections
Schedule annual roof inspections to identify and address any issues early. Look for signs of wear, such as cracked or missing shingles, and inspect the flashing for damage.
2. Clean Gutters
Keep gutters clean and free of debris to prevent water from backing up and causing damage to the roof and flashing.
3. Trim Overhanging Branches
Trim tree branches that hang over the roof to prevent damage from falling limbs and reduce the buildup of leaves and debris.
4. Address Repairs Promptly
Fix any damage, such as missing shingles or leaks, as soon as possible to prevent further deterioration.
Conclusion
The cost to replace flashing on a roof can vary based on several factors, including the type of flashing, material, roof accessibility, extent of damage, and labor costs. While DIY replacement can save money, hiring a professional ensures the job is done correctly and safely. Regular maintenance and inspections can help extend the lifespan of your roof and flashing, ultimately saving you money in the long run. By understanding these factors, you can make informed decisions about your roof maintenance and ensure your home remains protected from water damage.
Leave a Reply