Slate roofing is renowned for its timeless elegance and exceptional durability. If you’re considering installing slate roofing for your home, it’s essential to understand the intricacies of the installation process. This article will guide you through the steps involved in how to install slate roofing, ensuring a successful and long-lasting roofing solution for your property.
Preparing for Installation: Gathering Materials and Tools
Before you begin the installation process, it’s crucial to gather all the necessary materials and tools. These include:
- Slate Tiles: Choose high-quality slate tiles that are uniform in thickness and size. Varieties of slate are available, such as natural slate and synthetic slate, each with its own set of advantages.
- Underlayment: A waterproof underlayment provides an extra layer of protection against moisture and leaks.
- Roofing Nails: Use copper or stainless steel nails that won’t corrode over time.
- Roofing Felt: Install roofing felt to provide additional waterproofing and protect the roof structure.
- Flashing: Proper flashing around roof penetrations and edges prevents water infiltration.
- Tools: Essential tools include a slate cutter, hammer, roofing nails, measuring tape, chalk line, and safety equipment.
Step-by-Step Guide to Installing Slate Roofing
1. Preparation and Inspection: Before installing slate tiles, ensure the roof structure is in good condition. Repair any damaged wood or structural issues. Make sure the roof deck is clean, dry, and free of debris.
2. Installing Underlayment: Begin by installing the waterproof underlayment. Secure it to the roof deck using roofing nails, ensuring it’s properly aligned and covers the entire roof surface.
3. Marking Guidelines: Use a chalk line to mark horizontal guidelines on the underlayment. These guidelines will help you keep the rows of slate tiles straight and evenly spaced.
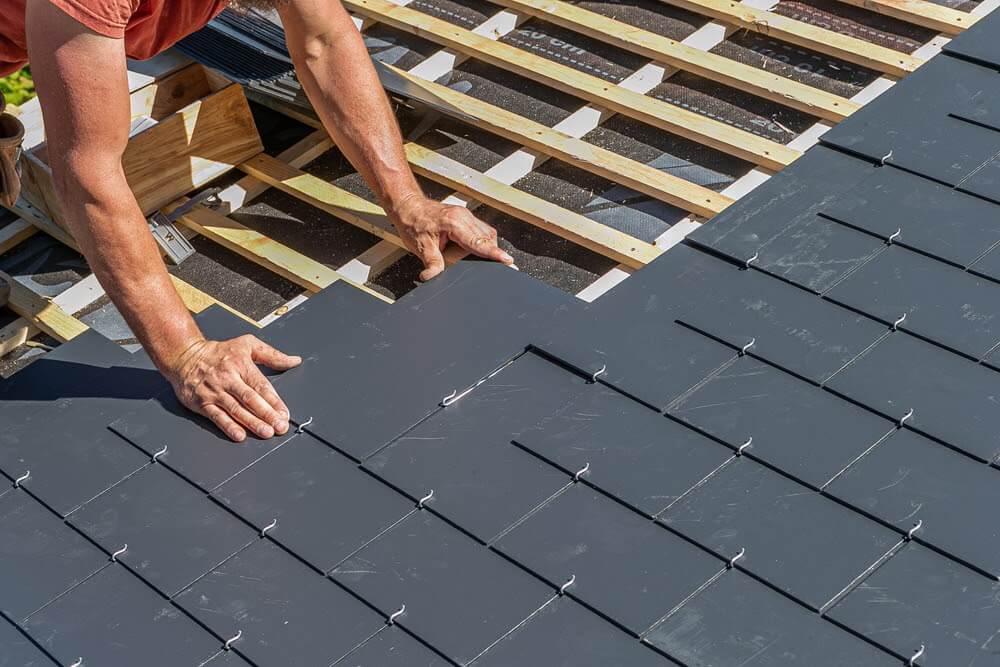
4. Installing the Slate Tiles: Start from the bottom of the roof and work your way up. Place the first slate tile, known as the starter tile, along the edge of the roof. Secure it in place using roofing nails. Continue installing tiles in rows, overlapping them to ensure water flows smoothly down the roof.
5. Cutting and Trimming: Use a slate cutter to trim tiles as needed to fit around roof penetrations, corners, and edges. Properly cut and fitted tiles are essential for a watertight roof.
6. Installing Flashing: Install flashing around chimneys, vents, and other roof penetrations to prevent water from entering the roof. Properly seal the flashing using roofing cement.
7. Ridge Installation: Complete the installation by placing ridge tiles along the roof’s peak. These tiles provide additional protection and enhance the roof’s aesthetics.
Final Thoughts on Slate Roofing Installation
Installing slate roofing requires careful attention to detail and precision. Each slate tile must be properly aligned, secured, and overlapped to ensure the roof’s longevity and functionality. While the process can be labor-intensive, the result is a stunning and enduring roof that adds character and value to your home.
Conclusion
In conclusion, how to install slate roofing involves a meticulous process that requires careful planning and execution. From preparing the materials and tools to following step-by-step guidelines, installing slate roofing demands attention to detail. By ensuring proper underlayment, alignment, and flashing, you can achieve a beautiful and long-lasting slate roof that stands as a testament to both craftsmanship and durability.


Leave a Reply