Introduction
Attaching a gable roof to the side of a house can be challenging for both DIY enthusiasts and professional builders. Many homeowners face problems like leaks, misalignment, or structural instability when attempting this task without proper guidance. Understanding how to tie a gable roof to side of house ensures safety, durability, and a perfect fit, protecting your home from weather damage.
Understanding Gable Roofs
Before starting, it’s crucial to understand the structure:
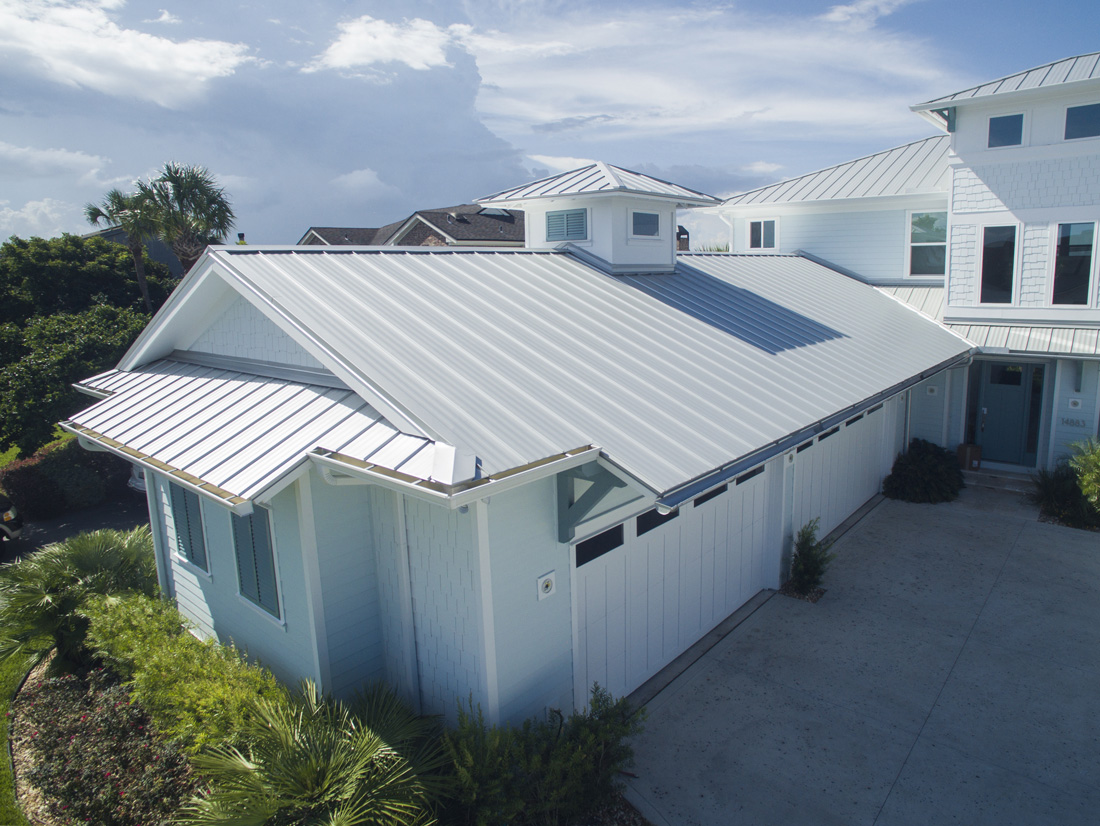
- Gable Roof: Features two sloping sides that meet at a ridge.
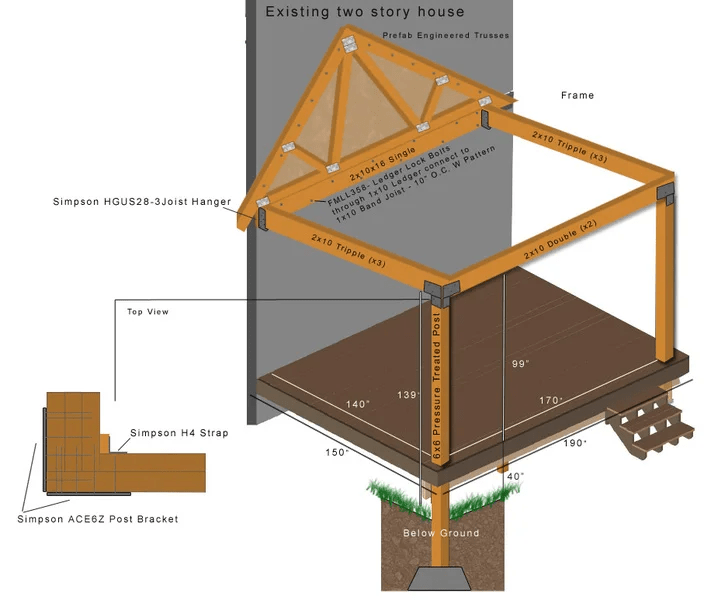
- Roof Framing: Typically includes rafters, ridge beams, and collar ties.
- House Connection: Requires a secure ledger board or wall plate for attachment.
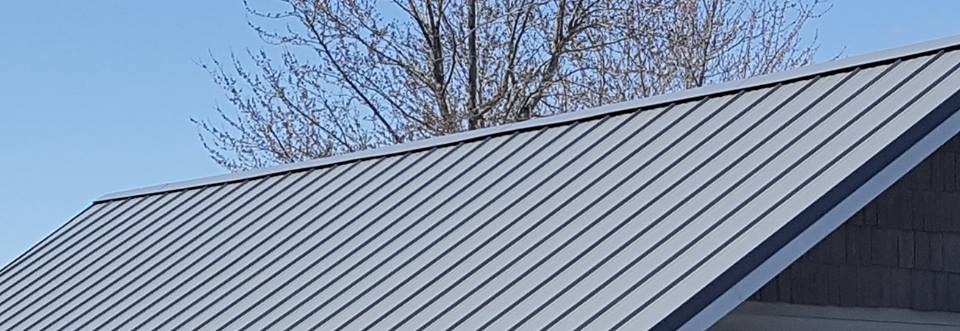
Read too: How Long Do Standing Seam Metal Roofs Last? A Comprehensive Guide to Durability and Longevity
Expert builders emphasize that correct alignment with the existing wall is key to avoiding long-term structural problems.
Materials and Tools Needed
Materials:
- Pressure-treated lumber for ledger and rafters
- Galvanized nails or screws
- Metal hurricane straps or connectors
- Flashing for water protection
- Roofing shingles or panels
Tools:
- Hammer or drill
- Circular saw
- Level and measuring tape
- Chalk line
- Ladder or scaffolding
Step-by-Step Guide to Tie a Gable Roof
1. Measure and Plan
- Measure the side wall height and roof pitch.
- Mark the intended roof line with a chalk line.
- Confirm clearance and overhang requirements.
2. Install a Ledger Board
- Secure a ledger board to the side wall using lag bolts or structural screws.
- Ensure it is level and properly aligned with the roof ridge.
- Apply flashing to prevent water infiltration.
3. Cut and Position Rafters
- Cut rafters to match the roof pitch.
- Install them at intervals specified by local building codes (usually 16–24 inches).
- Secure rafters to the ledger board using metal brackets or hurricane straps.
4. Add Ridge Beam and Collar Ties
- Position the ridge beam at the peak of the gable.
- Connect rafters with collar ties to prevent spreading and sagging.
- Double-check all connections for level and stability.
5. Sheathing and Roof Covering
- Install plywood or OSB sheathing across rafters.
- Cover with underlayment and roofing shingles or panels.
- Seal flashing along the joint between the gable roof and house wall.
6. Inspect and Adjust
- Ensure the roof is plumb and flush with the house wall.
- Test stability by gently applying pressure at critical joints.
- Make adjustments where necessary to prevent gaps or misalignment.
Safety Tips
- Always wear a safety harness when working on a roof.
- Use scaffolding for high walls to avoid ladder accidents.
- Check local building codes for attachment requirements.
- Inspect lumber for defects before installation.
Advantages vs Disadvantages
| Advantages | Disadvantages |
|---|---|
| Strong, secure attachment | Labor-intensive process |
| Customizable to different roof pitches | Requires precise measurements and cutting |
| Long-lasting with proper flashing and tie | Minor errors can lead to leaks or instability |
FAQ – Gable Roof Attachment
1. Can I attach a gable roof to any side of the house?
Yes, as long as the wall is structurally sound and can support additional load.
2. Do I need a professional for this task?
For complex or multi-story roofs, hiring a licensed contractor is recommended.
3. What is the best way to prevent leaks?
Use flashing, sealants, and ensure the ledger board is properly installed.
4. How do I determine rafter spacing?
Check local building codes; usually, spacing is 16–24 inches on center.
5. Can I attach it to a wall with existing siding?
Yes, but remove siding at the attachment point and install flashing to prevent water penetration.
6. What materials work best for collar ties?
Pressure-treated lumber or metal connectors ensure durability.
Conclusion
Learning how to tie a gable roof to side of house properly protects your home from structural damage and weather issues. With careful planning, correct materials, and precise installation, you can achieve a secure and aesthetically pleasing attachment. Share this guide with fellow DIY enthusiasts or professional builders to help them achieve a safe, long-lasting gable roof connection.

Leave a Reply