When it comes to ensuring the comfort and energy efficiency of your home or commercial building, the importance of proper insulation cannot be overstated. Among the various insulation materials available, Polyiso (Polyisocyanurate) insulation stands out as a popular choice for roofing applications. In this comprehensive guide, we will explore the ins and outs of Polyiso roof insulation installation, helping you make informed decisions for your roofing project.
Understanding Polyiso Insulation:
Polyiso insulation is a type of rigid foam board insulation known for its high thermal efficiency. It is made from a closed-cell foam core, which is typically sandwiched between two layers of foil-facing. This unique construction provides several benefits, making it a favored choice for both residential and commercial roofing projects.
Advantages of Polyiso Insulation:
- High R-Value: Polyiso insulation boasts one of the highest R-values per inch among insulation materials. This means it provides excellent thermal resistance, helping to keep your interior spaces comfortable year-round.
- Lightweight: Polyiso is lightweight and easy to handle, making it an ideal choice for roofing applications. Its lightweight nature reduces the structural load on the building.
- Versatility: It can be used in various roofing systems, including low-slope and steep-slope roofs, as well as in new construction and retrofit projects.
- Energy Efficiency: The high R-value of Polyiso insulation contributes to energy savings by reducing heating and cooling costs.
Polyiso Roof Insulation Installation Steps:
Before beginning any installation, it’s crucial to adhere to safety guidelines and consult the manufacturer’s instructions.
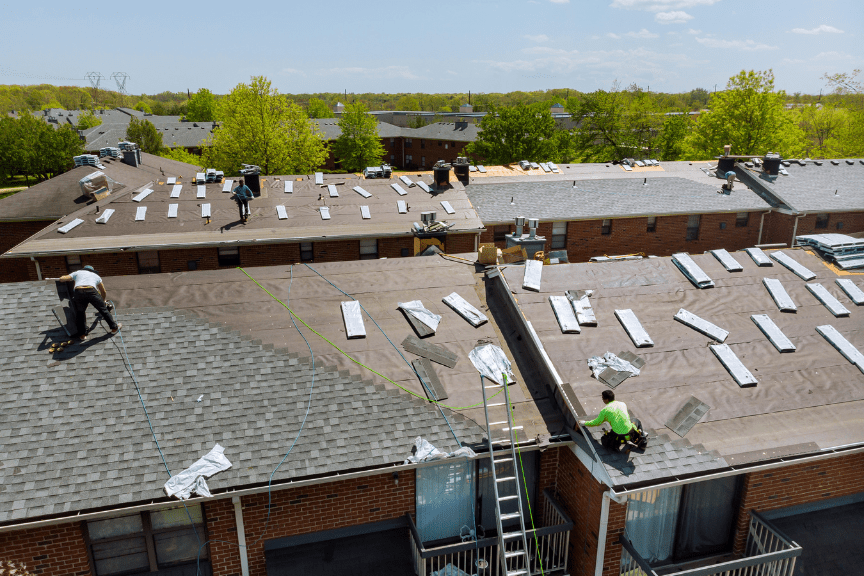
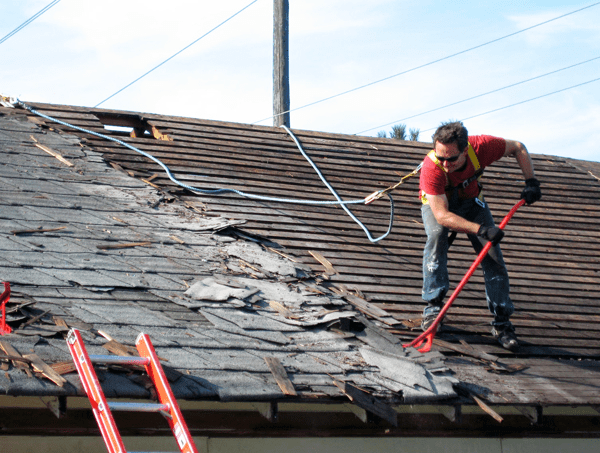
1. Roof Preparation:
- Ensure the roof deck is clean, dry, and free from any debris or contaminants.
- Repair any damaged or deteriorated areas of the roof deck.
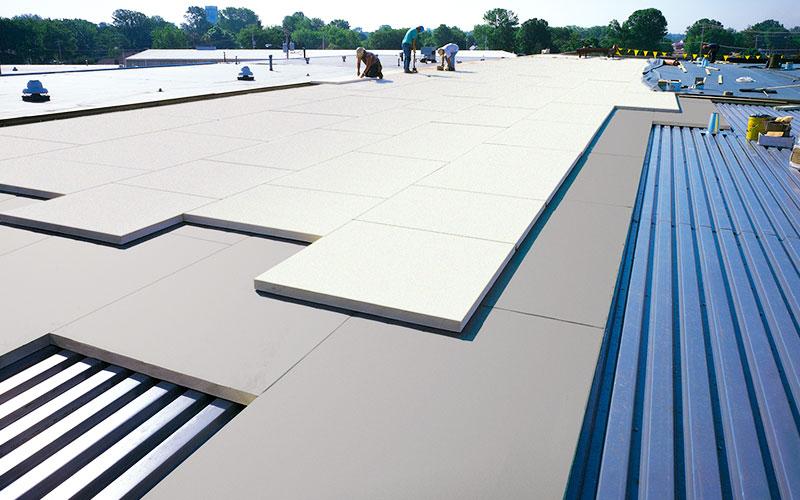
2. Insulation Placement:
- Install the Polyiso insulation boards directly onto the roof deck.
- Stagger the insulation boards to minimize heat loss through seams.
- Leave a small gap (about 1/8 inch) between boards for expansion.
3. Adhesive Application:
- Use a compatible adhesive to bond the insulation to the roof deck.
- Apply the adhesive evenly, ensuring complete coverage.
- Press the insulation boards firmly into the adhesive.
4. Securing the Insulation:
- In some instances, in addition to adhesive, one may employ mechanical fasteners to secure the insulation boards.
- Follow the manufacturer’s guidelines for fastener placement and spacing.
5. Sealing and Flashing:
- Properly seal all seams, joints, and penetrations with compatible sealant.
- Install flashing as needed to protect roof edges and penetrations.
6. Roof Covering Installation:
- Once the insulation is in place, install the roofing material of your choice according to the manufacturer’s instructions.
Conclusion:
Polyiso roof insulation offers a range of benefits, including excellent thermal performance, versatility, and energy efficiency. When installed correctly, it can contribute to a comfortable and energy-efficient building. However, it’s essential to follow the manufacturer’s guidelines and consult with roofing professionals to ensure a successful Polyiso roof insulation installation. With the right installation, your roof can provide long-lasting protection and energy savings for years to come.
Leave a Reply