A tile roof can be a beautiful and durable choice for your home. However, over time, the underlayment beneath the tiles may deteriorate due to exposure to the elements. When this happens, it’s crucial to replace the underlayment to protect your home from water damage and maintain the integrity of your roof. In this guide, we’ll walk you through the steps on how to replace the underlayment on a tile roof, ensuring that your investment in a tile roof continues to serve you well.
Understanding the Importance of Underlayment
Before we dive into the replacement process, let’s first understand why underlayment is so vital for your tile roof. The underlayment acts as a secondary barrier that provides an extra layer of protection against water infiltration. It prevents rain, snow, and debris from seeping through the gaps between the tiles and onto the roof deck. Without a properly functioning underlayment, your roof and the structure of your home can be exposed to costly water damage.
Tools and Materials You’ll Need
To replace the underlayment on a tile roof, you’ll need the following tools and materials:
- Safety gear: Safety goggles, gloves, and a hard hat are essential to protect yourself from any falling debris.
- Ladder: Ensure your ladder is in good condition and tall enough to safely access the roof.
- Roofing nails and screws: You’ll need these to secure the new underlayment.
- Roofing underlayment: Choose an underlayment material suitable for your climate and roof type. Common options include asphalt-saturated felt, synthetic underlayment, and rubberized asphalt.
- Utility knife: To cut the underlayment to the right size and shape.
- Staple gun and staples: To secure the underlayment in place.
- Hammer: For driving in nails or screws.
Steps to Replace Underlayment on a Tile Roof
- Safety First: Before you begin any work, prioritize safety. Ensure you have the necessary safety gear, and assess the weather conditions. Avoid working on the roof during rainy or windy weather.
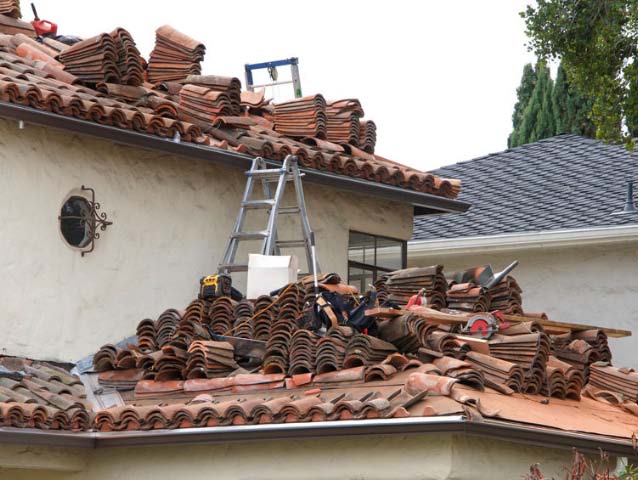
- Remove the Tiles: Carefully remove the tiles from the area where you intend to replace the underlayment. Start from the bottom and work your way up. Use a flat bar to gently lift and remove the tiles.
- Inspect the Roof Deck: Once the tiles are removed, inspect the roof deck for any signs of damage or rot. If you find any issues, make necessary repairs before proceeding.
- Remove the Old Underlayment: Gently pull up the old underlayment. Be cautious not to damage the roof deck during this process. You may need to use a utility knife to cut the underlayment into manageable sections for removal.
- Install New Underlayment: Unroll the new underlayment material and secure it in place using a staple gun. Start at the bottom of the roof and work your way up, overlapping the underlayment sheets to ensure a watertight seal. Use roofing nails or screws to secure the edges.
- Replace the Tiles: After the underlayment is properly installed, replace the tiles in their original positions. Be careful not to break or crack any tiles during the reinstallation.
- Inspect and Clean: Once the tiles are back in place, inspect the roof to ensure there are no visible gaps or damage. Clean the area to remove any debris.
- Final Check: Perform a final check for any loose tiles or debris on the roof and in the gutters. Ensure the underlayment is well-secured and properly installed.
Conclusion
Replacing the underlayment on a tile roof is a task that, while manageable, requires careful attention to detail and safety precautions. With the right tools and materials, you can protect your home from potential water damage and extend the lifespan of your beautiful tile roof. If you’re not confident in your DIY skills, don’t hesitate to consult with a professional roofing contractor to ensure the job is done correctly and efficiently. By maintaining your tile roof’s underlayment, you can enjoy its longevity and aesthetic appeal for years to come.


Leave a Reply