Standing seam metal roofing is a popular choice among homeowners and builders due to its durability, sleek appearance, and long-lasting performance. Unlike other types of roofing, standing seam roofs are designed to offer superior protection against the elements while enhancing the aesthetic appeal of any building. This comprehensive guide will provide you with detailed standing seam roof installation instructions, ensuring that you achieve a successful and professional result.
What is a Standing Seam Roof?
Before diving into the installation instructions, it’s important to understand what a standing seam roof is. A standing seam roof consists of metal panels that run vertically from the roof’s ridge to the eaves. The seams, where the panels connect, are raised above the level of the roofing, providing a watertight seal that is ideal for withstanding harsh weather conditions. These roofs are known for their longevity, often lasting 50 years or more, and their ability to be installed with minimal maintenance.
Read too: How To Replace Roof Shingles That Blew Off: A Comprehensive Guide
Benefits of Standing Seam Roofs
1. Durability
Standing seam roofs are incredibly durable and resistant to common roofing issues such as leaks, rust, and corrosion. The raised seams prevent water from penetrating the roof, reducing the risk of leaks and water damage.
2. Energy Efficiency
Metal roofs, including standing seam roofs, are highly reflective, meaning they can reflect the sun’s rays and reduce cooling costs during hot weather. This makes them an energy-efficient choice for homeowners looking to save on utility bills.
3. Aesthetic Appeal
Standing seam roofs have a modern, sleek appearance that can enhance the curb appeal of any home. They are available in various colors and finishes, allowing homeowners to choose a look that complements their architectural style.
4. Low Maintenance
Once installed, standing seam roofs require very little maintenance. They are resistant to mold, mildew, and other common roofing issues, making them a hassle-free option for homeowners.
Tools and Materials Needed for Installation
Before starting the installation, gather the following tools and materials:
- Standing seam metal panels
- Metal roofing screws
- Underlayment (such as synthetic or felt)
- Roofing nails
- Metal snips
- Measuring tape
- Chalk line
- Drill with a screwdriver bit
- Ladder
- Safety harness
- Caulking gun with sealant
- Ridge caps and flashing
Step-by-Step Standing Seam Roof Installation Instructions
Step 1: Prepare the Roof Surface
Before installing the standing seam panels, ensure that the roof surface is properly prepared. Start by removing any old roofing material, such as shingles or tiles, and inspect the roof deck for damage. Replace any rotten or damaged sections of the roof deck to ensure a solid foundation for the new metal roof. Clean the surface thoroughly to remove debris, dirt, and dust.
Step 2: Install the Underlayment
The underlayment is a critical component that provides an additional layer of protection against moisture. Begin by rolling out the underlayment horizontally across the roof deck, starting at the eaves and working your way up to the ridge. Overlap each row of underlayment by at least 6 inches to ensure complete coverage. Secure the underlayment to the roof deck using roofing nails, making sure it is flat and free of wrinkles.
Step 3: Measure and Cut the Metal Panels
Measure the length of the roof from the ridge to the eaves to determine the size of the metal panels needed. Use metal snips to cut the panels to the appropriate length, ensuring that each panel extends at least 2 inches beyond the eaves to allow for proper drainage. Mark the cutting lines with a chalk line to ensure straight cuts.
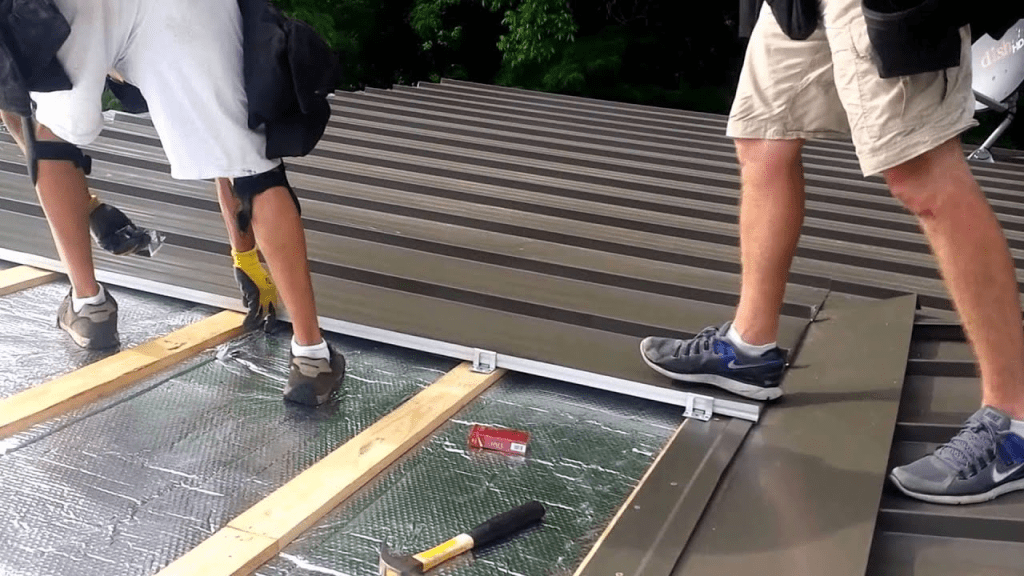
Step 4: Install the Starter Clips
Starter clips are essential for holding the first row of metal panels in place. Attach the starter clips along the eaves, ensuring that they are evenly spaced and securely fastened to the roof deck. The clips should be positioned so that the first panel can easily snap into place.
Step 5: Attach the First Panel
Place the first metal panel at the eaves, aligning it with the starter clips. The edge of the panel should overhang the eaves by about 1 to 2 inches. Use metal roofing screws to secure the panel to the roof deck, placing the screws in the flat part of the panel and avoiding the raised seam. Make sure the panel is straight and properly aligned before moving on to the next panel.
Step 6: Install the Remaining Panels
Continue installing the remaining panels, working your way across the roof. Each panel should overlap the previous one, with the raised seam covering the screws of the adjacent panel. This overlapping design ensures a watertight seal and enhances the roof’s resistance to leaks. Use the chalk line to maintain straight and even rows, and secure each panel with screws.
Step 7: Install the Ridge Caps
Ridge caps are installed at the peak of the roof to cover the seams where the panels meet. Measure and cut the ridge caps to fit the length of the roof, and secure them in place with metal roofing screws. Ridge caps should overlap the panels on both sides of the roof, providing a finished look and additional protection against water infiltration.
Step 8: Install Flashing
Flashing is used to seal the areas where the roof meets walls, chimneys, or other structures. Cut the flashing to the appropriate size and shape, and secure it in place with screws and sealant. Properly installed flashing prevents water from seeping into the roof and causing damage.
Step 9: Seal the Seams
Apply a bead of sealant along the seams where the panels overlap to ensure a watertight seal. Use a caulking gun to apply the sealant, and smooth it out with a putty knife for a clean finish. This step is crucial for preventing leaks and prolonging the life of the roof.
Step 10: Final Inspection
Once the installation is complete, conduct a thorough inspection of the roof. Check for any loose screws, gaps, or areas that may require additional sealant. Make sure the panels are securely fastened and the roof is properly sealed. This final inspection will help ensure that the roof is ready to withstand the elements.
Maintenance Tips for Standing Seam Roofs
Standing seam roofs are low-maintenance, but regular inspections and care can help extend their lifespan. Here are some maintenance tips to keep your roof in top condition:
- Regular Inspections: Inspect your roof at least twice a year, especially after severe weather. Look for signs of damage, such as loose panels, missing screws, or rust spots.
- Clean the Roof: Keep your roof clean by removing debris, leaves, and dirt. Use a soft-bristle brush or a low-pressure washer to avoid damaging the metal surface.
- Check for Leaks: Regularly check for leaks around flashing, seams, and ridge caps. Address any leaks promptly to prevent water damage.
- Apply Touch-Up Paint: If you notice any scratches or chips in the paint, apply touch-up paint to prevent rust from forming.
- Trim Overhanging Branches: Trim any branches that hang over the roof to prevent them from scraping the metal panels during high winds.
Conclusion
Installing a standing seam roof is a valuable investment that offers durability, energy efficiency, and a modern aesthetic. By following these detailed standing seam roof installation instructions, you can achieve a professional-grade roof that will protect your home for decades. Remember to gather all necessary tools and materials, carefully follow each step, and perform regular maintenance to ensure the longevity of your roof.


Leave a Reply