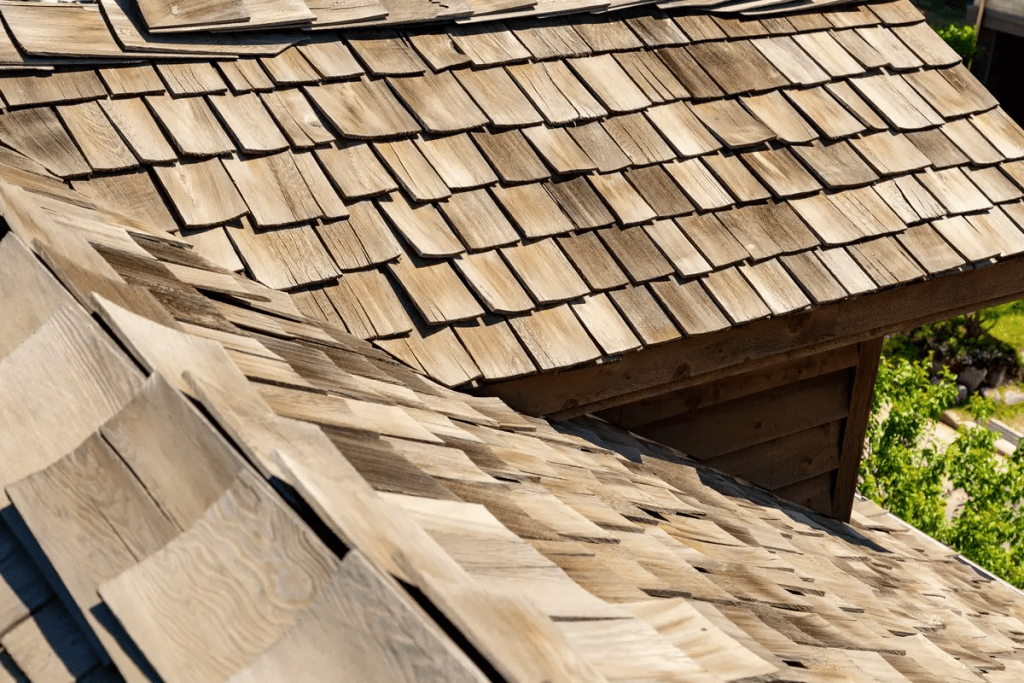
If you’re considering a roof upgrade that combines beauty, durability, and energy efficiency, you might want to install a cedar shake roof. Cedar shakes are a popular roofing choice that offers a rustic aesthetic, excellent insulation, and long-lasting performance. However, proper installation is crucial to ensure your cedar shake roof functions optimally and lasts for decades. This guide will walk you through everything you need to know about installing a cedar shake roof, including materials, preparation, installation steps, and maintenance tips.
Why Choose Cedar Shake Roofs?
Before diving into how to install a cedar shake roof, let’s explore the benefits of choosing cedar shakes for your roofing project:
- Aesthetic Appeal: Cedar shakes provide a natural and timeless look that enhances the architectural beauty of any home.
- Durability: When properly installed and maintained, cedar shake roofs can last 30 to 50 years, making them a long-term investment.
- Natural Insulation: Cedar wood has excellent insulating properties, helping to keep your home warm in winter and cool in summer.
- Environmentally Friendly: Cedar is a renewable resource, making it an eco-friendly choice for roofing.
- Resistance to Insects: The natural oils in cedar wood make it resistant to pests, including termites.
Read too: How To Replace A Mobile Home Roof: Step-by-Step Guide for Homeowners
Understanding Cedar Shake Types
Before you install a cedar shake roof, it’s essential to understand the different types of cedar shakes available:
- Hand-Split Shakes: These are made from splitting the wood along its natural grain, resulting in a rough texture that gives a rustic appearance.
- Taper-Sawn Shakes: These shakes are sawn on both sides, providing a smoother finish and a more uniform appearance.
- Cedar Shingles: While not the same as shakes, cedar shingles are thinner and have a more refined look, suitable for different architectural styles.
Choosing the right type of cedar shake is essential for achieving your desired aesthetic and ensuring durability.
Preparing for Installation
Before you begin to install a cedar shake roof, proper preparation is key. Here’s a checklist to help you get started:
1. Gather Materials and Tools
You’ll need the following materials and tools:
Materials
- Cedar shakes
- Underlayment (roofing felt or synthetic underlayment)
- Roofing nails (preferably stainless steel)
- Starter strips
- Ridge cap shakes
- Sealant or caulk
Tools
- Hammer or nail gun
- Circular saw (for cutting shakes)
- Tape measure
- Level
- Chalk line
- Safety equipment (gloves, goggles, harness)
2. Assess the Roof Structure
Before installation, inspect your existing roof structure. Make sure it is in good condition, free of rot, and capable of supporting the weight of the cedar shakes. If you have an old roof, you may need to remove the existing roofing material before proceeding.
3. Ensure Proper Ventilation
Proper ventilation is crucial for extending the life of your cedar shake roof. Ensure that there are adequate vents in the attic and consider installing soffit vents to promote air circulation.
Install Cedar Shake Roof: Step-by-Step Guide
Once you’ve prepared your materials and ensured the roof structure is sound, it’s time to install a cedar shake roof. Here’s a step-by-step guide:
1: Install Underlayment
- Lay the Underlayment: Begin by installing a layer of roofing felt or synthetic underlayment over the entire roof surface. Start at the bottom and work your way up, overlapping each row by about 6 inches. This underlayment will serve as a moisture barrier, protecting the wood from water damage.
2: Install Starter Strips
- Cut Starter Strips: Use leftover cedar shakes or purchase starter strips specifically designed for cedar roofs. Cut them to length, typically 3 to 4 inches wide.
- Nail Starter Strips: Install the starter strips along the eaves of the roof, ensuring they hang over the edge by about 1 inch. Use roofing nails to secure them in place.
3: Install Cedar Shakes
- Select Your Shakes: Begin with the longest, straightest shakes for the first row to create a solid foundation.
- Lay the First Row: Starting at the eaves, place the first shake with the thick end facing down and overlapping the starter strip. Secure it with two nails about 1 inch from the edge and 1 inch from the bottom.
- Offset the Joints: As you lay additional rows, stagger the joints between shakes by at least 6 inches. This technique helps improve water drainage and adds to the roof’s durability.
- Continue Laying Shakes: Continue to lay rows of shakes, using a chalk line to ensure straightness. Keep an eye on the exposure (the visible portion of the shake), which typically ranges from 5 to 7 inches, depending on the style of your roof.
4: Install Ridge Cap
- Prepare Ridge Cap Shakes: Cut shakes to size for the ridge. Ridge cap shakes are usually tapered and should be longer than the shakes used on the roof.
- Nail Ridge Cap: Install the ridge cap shakes over the peak of the roof, nailing them in place. Ensure they overlap at the seams to create a watertight seal.
5: Seal and Finish
- Inspect for Gaps: Check for any gaps or loose shakes. Use sealant or caulk to fill any voids that could allow moisture penetration.
- Final Inspection: Perform a final inspection to ensure everything is secure and in place.
Maintenance Tips for Cedar Shake Roofs
Once you’ve successfully installed a cedar shake roof, maintaining it is crucial for its longevity. Here are some essential maintenance tips:
1. Regular Inspections
Conduct inspections at least twice a year, preferably in spring and fall. Look for signs of wear, damage, or loose shakes, and address any issues promptly.
2. Cleaning
Remove debris such as leaves, branches, and moss from your roof. This helps prevent moisture retention and potential decay. A gentle wash with a soft-bristle brush and water is often sufficient.
3. Treat for Moss and Algae
Moss and algae can grow on cedar shakes, especially in damp climates. Consider applying a moss treatment or installing zinc or copper strips along the ridge to prevent growth.
4. Address Repairs Promptly
If you notice damaged or missing shakes, replace them as soon as possible to prevent further issues. Delaying repairs can lead to more extensive damage and costly repairs.
5. Ensure Proper Ventilation
Ensure your attic has adequate ventilation to prevent heat buildup and moisture accumulation, which can damage the roof and structure.
When to Call a Professional
While many homeowners can successfully install a cedar shake roof, there are situations when it’s best to call a professional:
- Safety Concerns: If you’re uncomfortable working at heights or lack the necessary safety equipment, hiring a professional is wise.
- Complex Roof Designs: Roofs with steep pitches, multiple slopes, or unique architectural features may require specialized skills.
- Extensive Repairs: If your roof requires extensive repairs or replacement, it’s best to consult a professional contractor with experience in cedar shake roofs.
Conclusion
Installing a cedar shake roof is a rewarding project that can enhance the beauty and functionality of your home. By understanding the installation process and committing to regular maintenance, you can enjoy the numerous benefits that cedar shakes offer for decades. Remember that proper installation is crucial to maximizing the lifespan of your roof, so take the time to do it right or consult a professional if needed. Your investment in a cedar shake roof will undoubtedly pay off in the long run.


Leave a Reply