Discover step-by-step instructions and tips for a successful standing seam metal roof installation to enhance your home’s durability and aesthetic appeal.
Understanding Standing Seam Metal Roof Installation Instructions
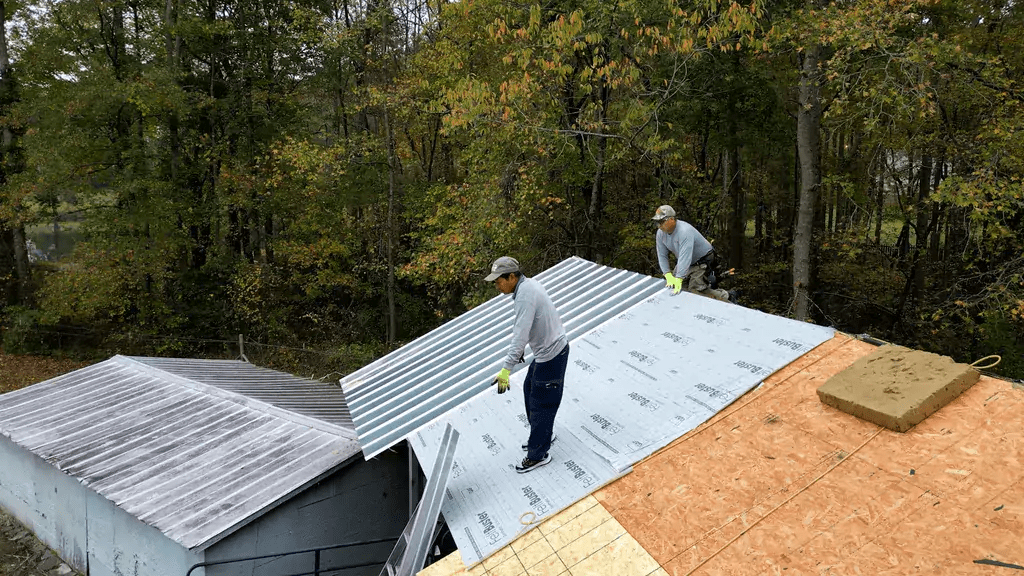
Standing seam metal roofs are renowned for their durability, sleek appearance, and weather resistance. Installing them correctly ensures optimal performance and longevity for your home or building.
Preparation for Standing Seam Metal Roof Installation
Before beginning the installation process, ensure you have the necessary materials, tools, and safety equipment. Proper preparation sets the stage for a smooth installation:
Materials Needed
- Standing Seam Metal Panels: Choose panels that match your roof’s dimensions and desired aesthetic.
- Fasteners and Clips: Ensure you have enough screws, clips, and other fastening components designed for standing seam roofs.
- Underlayment: Select an appropriate underlayment to provide additional weather protection and thermal insulation.
- Flashing and Trim: Have flashing materials and trim pieces ready to finish edges, valleys, and penetrations.
- Sealant: Use compatible sealants for sealing seams and around penetrations to prevent water infiltration.
Read too: How To Replace Roof Shingles That Blew Off: A Comprehensive Guide
Tools Required
- Power Drill with Screwdriver Bit: For fastening panels and clips.
- Metal Snips or Shears: To cut panels to size and shape around edges and penetrations.
- Seamers: Essential for crimping seams together tightly.
- Measuring Tape and Square: For accurate measurements and layout.
- Safety Gear: Including gloves, safety glasses, and appropriate footwear for working at heights.
Step-by-Step Installation Instructions
Follow these steps to install a standing seam metal roof correctly:
1. Roof Preparation
- Remove Old Roofing: If necessary, remove old roofing materials down to the roof deck.
- Inspect Roof Deck: Ensure the roof deck is structurally sound and free of rot or damage. Make repairs as needed.
- Install Underlayment: Lay down the underlayment according to manufacturer’s instructions, starting from the eaves and working upwards.
2. Layout and Measurement
- Measure and Snap Chalk Lines: Determine panel layout and snap chalk lines on the roof deck to guide panel placement. Consider panel width and seam spacing.
3. Panel Installation
- Start at Eaves: Begin installing panels at the eaves, securing the first panel with clips and fasteners.
- Overlap and Seam: Install subsequent panels, overlapping each seam as per manufacturer’s guidelines. Use seamers to crimp seams tightly together.
- Cutting Panels: Use metal snips or shears to cut panels to fit around edges, chimneys, vents, and other roof penetrations.
4. Ridge and Trim Installation
- Install Ridge Cap: Secure ridge caps over the panels at the roof ridge using appropriate fasteners and sealant.
- Install Trim Pieces: Apply trim pieces along edges, valleys, and penetrations to provide a finished appearance and enhance weather resistance.
5. Sealants and Final Checks
- Apply Sealant: Use sealant to seal seams, edges, and around penetrations to prevent water infiltration.
- Inspect Installation: Conduct a thorough inspection of the entire roof to ensure all panels are securely fastened, seams are tight, and trim is properly installed.
Benefits of Standing Seam Metal Roof Installation
Longevity and Durability
Standing seam metal roofs can last 50 years or more with minimal maintenance, making them a long-term investment in your property.
Weather Resistance
Metal roofs withstand harsh weather conditions, including wind, rain, snow, and hail, better than many other roofing materials.
Energy Efficiency
Metal roofs reflect solar radiant heat, reducing cooling costs in warmer climates and contributing to overall energy efficiency.
Conclusion
Installing a standing seam metal roof requires careful planning, precise execution, and attention to detail. By following these installation instructions and guidelines, you can achieve a durable, weather-resistant roof that enhances your home’s value and aesthetic appeal for decades to come.


Leave a Reply